Turn on suggestions
Auto-suggest helps you quickly narrow down your search results by suggesting possible matches as you type.
Showing results for
- STMicroelectronics Community
- STM32 MCUs
- STM32 MCUs TouchGFX and GUI
- TouchGFX 4.24.2 on STM32N6570-DK: Black Screen and...
Options
- Subscribe to RSS Feed
- Mark Topic as New
- Mark Topic as Read
- Float this Topic for Current User
- Bookmark
- Subscribe
- Mute
- Printer Friendly Page
TouchGFX 4.24.2 on STM32N6570-DK: Black Screen and Red LED (LD4) After Flashing
Options
- Mark as New
- Bookmark
- Subscribe
- Mute
- Subscribe to RSS Feed
- Permalink
- Email to a Friend
- Report Inappropriate Content
2025-01-24 9:33 AM
Hi everyone,
I’m encountering an issue while working with TouchGFX 4.24.2 on the STM32N6570-DK, using STM32CubeIDE 1.17.
Here’s the situation:
- I tested both my custom project and a demo project provided by TouchGFX.
- I followed the recommended steps:
- Generate Code in TouchGFX Designer.
- Run the application in the TouchGFX simulator, where it executes without any issues.
- Build and flash the project onto the board using STM32CubeIDE.
However, after flashing, the board:
- Shows a black screen (no content displayed).
- The LD4 LED remains lit in red.
I verified the following:
- The BOOT switches were in the correct positions during flashing and execution.
- I used the correct flash scripts for the FSBL and application.
Despite these steps, the application refuses to run on the board. Even the demo projects, which should work out of the box, show the same behavior.
Has anyone experienced this issue or found a solution? Could it be related to memory configuration, the FSBL, or perhaps some compatibility issue with the board? Any help or troubleshooting suggestions would be highly appreciated!
Thank you for your support! :smiling_face_with_smiling_eyes:
Solved! Go to Solution.
Labels:
- Labels:
-
DMA2D (ChromArt)
-
TouchGFX Designer
1 ACCEPTED SOLUTION
Accepted Solutions
Options
- Mark as New
- Bookmark
- Subscribe
- Mute
- Subscribe to RSS Feed
- Permalink
- Email to a Friend
- Report Inappropriate Content
2025-01-30 3:53 AM
The flashing should be exclusively done using the .bat scripts provided in the Flash Scripts/ folder.
@Ippo wrote:
- I followed the recommended steps:
- Generate Code in TouchGFX Designer.
- Run the application in the TouchGFX simulator, where it executes without any issues.
- Build and flash the project onto the board using STM32CubeIDE.
We do not recommend number 3. You shouldn't try to flash using STM32CubeIDE because it will not work.
Osman SOYKURT
ST Software Developer | TouchGFX
ST Software Developer | TouchGFX
7 REPLIES 7
Options
- Mark as New
- Bookmark
- Subscribe
- Mute
- Subscribe to RSS Feed
- Permalink
- Email to a Friend
- Report Inappropriate Content
2025-01-30 2:57 AM
Hello @Ippo ,
Which version of STM32CubeProgrammer are you using? You must use the latest one in date (2.18.0) since STM32N6570-DK is supported from that version as described in the Release Note.
Osman SOYKURT
ST Software Developer | TouchGFX
ST Software Developer | TouchGFX
Options
- Mark as New
- Bookmark
- Subscribe
- Mute
- Subscribe to RSS Feed
- Permalink
- Email to a Friend
- Report Inappropriate Content
2025-01-30 3:04 AM
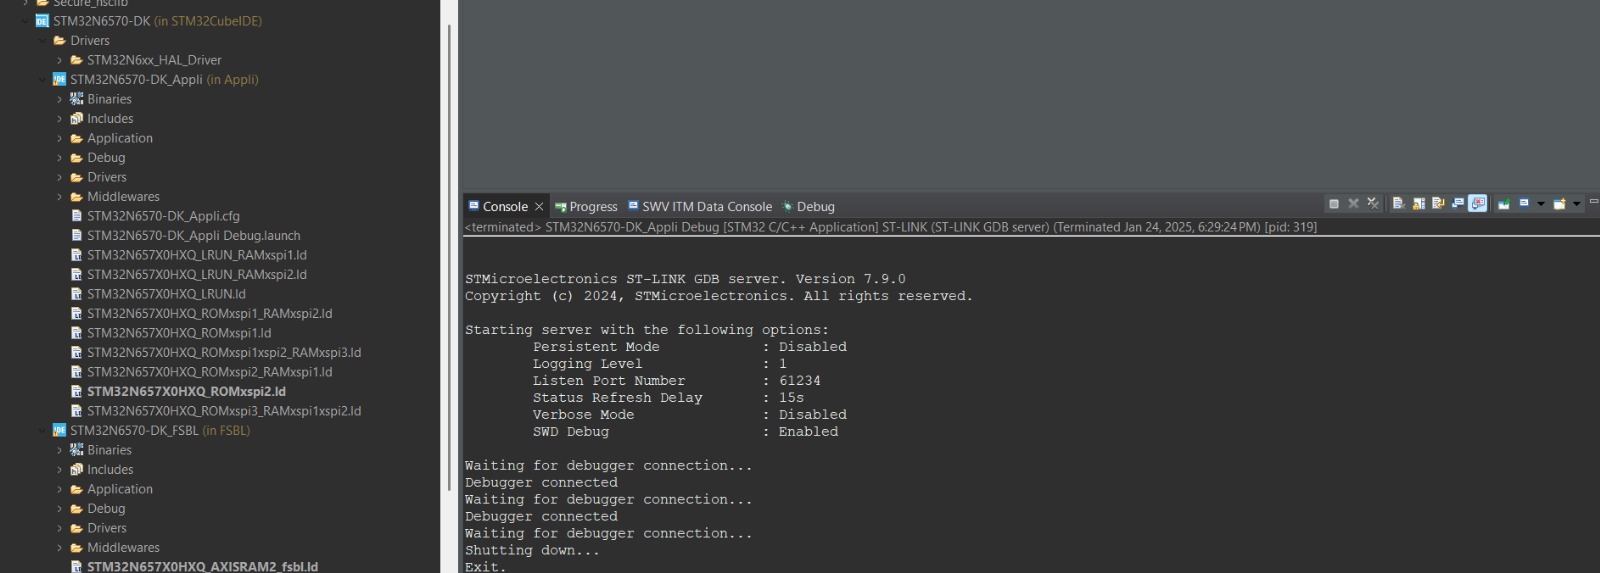
The latest version is 2.18, but I tried flashing using CubeIDE 1.17. The problem is that when I try to flash a demo to the N6 after generating the code with TouchGFX and building the application code with CubeIDE, the code compiles without errors, but the screen remains black.
Maybe I did something wrong.
Options
- Mark as New
- Bookmark
- Subscribe
- Mute
- Subscribe to RSS Feed
- Permalink
- Email to a Friend
- Report Inappropriate Content
2025-01-30 3:53 AM
The flashing should be exclusively done using the .bat scripts provided in the Flash Scripts/ folder.
@Ippo wrote:
- I followed the recommended steps:
- Generate Code in TouchGFX Designer.
- Run the application in the TouchGFX simulator, where it executes without any issues.
- Build and flash the project onto the board using STM32CubeIDE.
We do not recommend number 3. You shouldn't try to flash using STM32CubeIDE because it will not work.
Osman SOYKURT
ST Software Developer | TouchGFX
ST Software Developer | TouchGFX
Options
- Mark as New
- Bookmark
- Subscribe
- Mute
- Subscribe to RSS Feed
- Permalink
- Email to a Friend
- Report Inappropriate Content
2025-01-30 4:02 AM
Thanks for the help. I'll update you if it works or not as soon as I can.
Options
- Mark as New
- Bookmark
- Subscribe
- Mute
- Subscribe to RSS Feed
- Permalink
- Email to a Friend
- Report Inappropriate Content
2025-02-04 10:11 AM - edited 2025-02-04 10:17 AM
I tried to execute the script inside the Flash scripts folder, but when I run LoadAll.bat, I get the error 'failed to erase memory'. I generated the .hex and .bin files by building the project in CubeIDE.
I positioned the BOOT1 switch to the right before executing the script.
Maybe I did something wrong. Do you have any suggestions?

Options
- Mark as New
- Bookmark
- Subscribe
- Mute
- Subscribe to RSS Feed
- Permalink
- Email to a Friend
- Report Inappropriate Content
2025-02-20 3:24 PM
I am working to solve the same problem - where do I find the Flash Scripts?
Options
- Mark as New
- Bookmark
- Subscribe
- Mute
- Subscribe to RSS Feed
- Permalink
- Email to a Friend
- Report Inappropriate Content
2025-02-21 2:56 AM
Hi,
Flash scripts are located inside the "Flash scripts" folder within the project directory. For example, if the project application is in "C:\TouchGFXProjects\MyApplication_1", the flash scripts can be found in "C:\TouchGFXProjects\MyApplication_1\Flash scripts\CubeIde\Debug(or Release)\ .bat scripts".
Inside the Debug or Release folder, there are batch (.bat) scripts available for flashing. The commonly used script is LoadAll.bat.
Before running the script, Boot0 and Boot1 switches must be set to the correct positions. Once properly configured, execute LoadAll.bat to start the flashing process.
After the flash is completed, set Boot0 and Boot1 back to their default positions, then press the reset button to restart the board.
Related Content
- Nucleo-G474RE code jump from code in Internal Flash to External Flash W25Q16JV in QSPI is not working in STM32 MCUs Products
- Unable to Connect to STM32H747 After Flashing Code in CubeIDE in STM32CubeIDE (MCUs)
- STM32N6570-DK Debugger in STM32 MCUs TouchGFX and GUI
- Unable to Connect to NUCLEO-STM32H7S3L8 in STM32CubeProgrammer or STM32CubeIDE in STM32 MCUs Products
- No SysTick interrupt generated after __libc_init_array call on C++ environment in STM32 MCUs Products