


STM32CubeIDE 2.0.0 workflow tutorial
Introduction
STM32CubeIDE 2.0.0 is a major release. In this version, STM32CubeMX is removed from STM32CubeIDE. STM32CubeIDE and STM32CubeMX are now two separate products. This changes the workflow, which we describe and explain in this article. Click here if you would like to watch a video tutorial describing the new workflow.
- Introduction
- 1. Background
- 2. New workflow with STM32CubeIDE
- 2.1 Create your project using STM32CubeMX
- 2.2 Set up the project for STM32CubeIDE
- 2.3 Generate the project
- 2.4 Import the project in STM32CubeIDE
- 2.5 Project modification in STM32CubeMX
- 3. Creating a new project with C++ as the target language
- Related links
1. Background
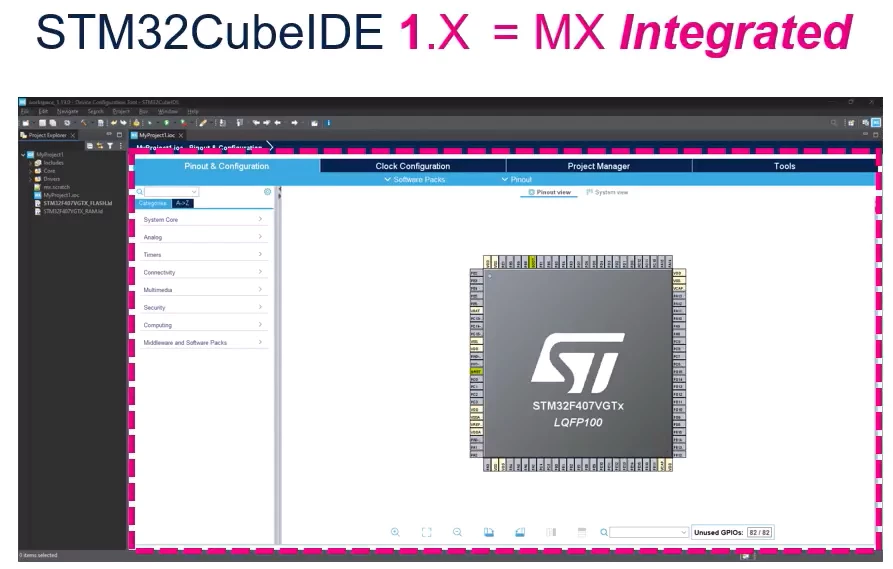
In STM32CubeIDE1.x, STM32CubeMX was integrated into STM32CubeIDE:
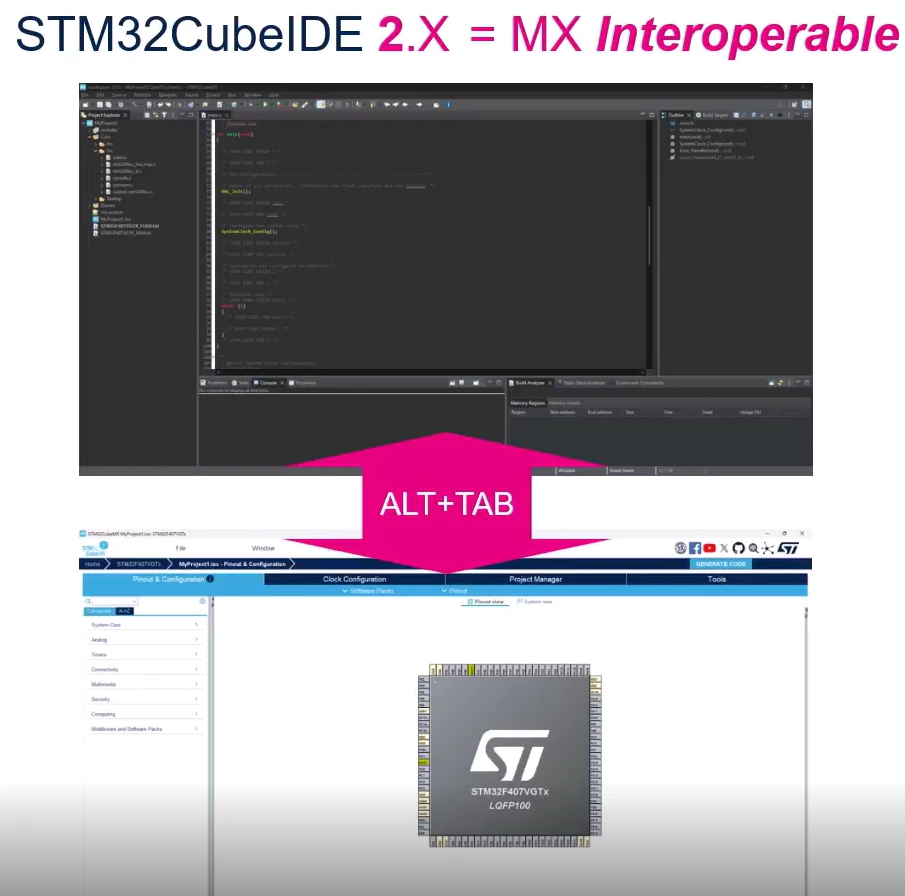
In STM32CubeIDE 2.x, the STM32CubeMX was removed from STM32CubeIDE
2. New workflow with STM32CubeIDE
The new workflow consists in starting your project from STM32CubeMX, generating a project for STM32CubeIDE and then importing it in STM32CubeIDE.
The steps are described and explained in detail below.
2.1 Create your project using STM32CubeMX
In the example below I have created a STM32CubeMX for a STM32U385 with a demonstration code.
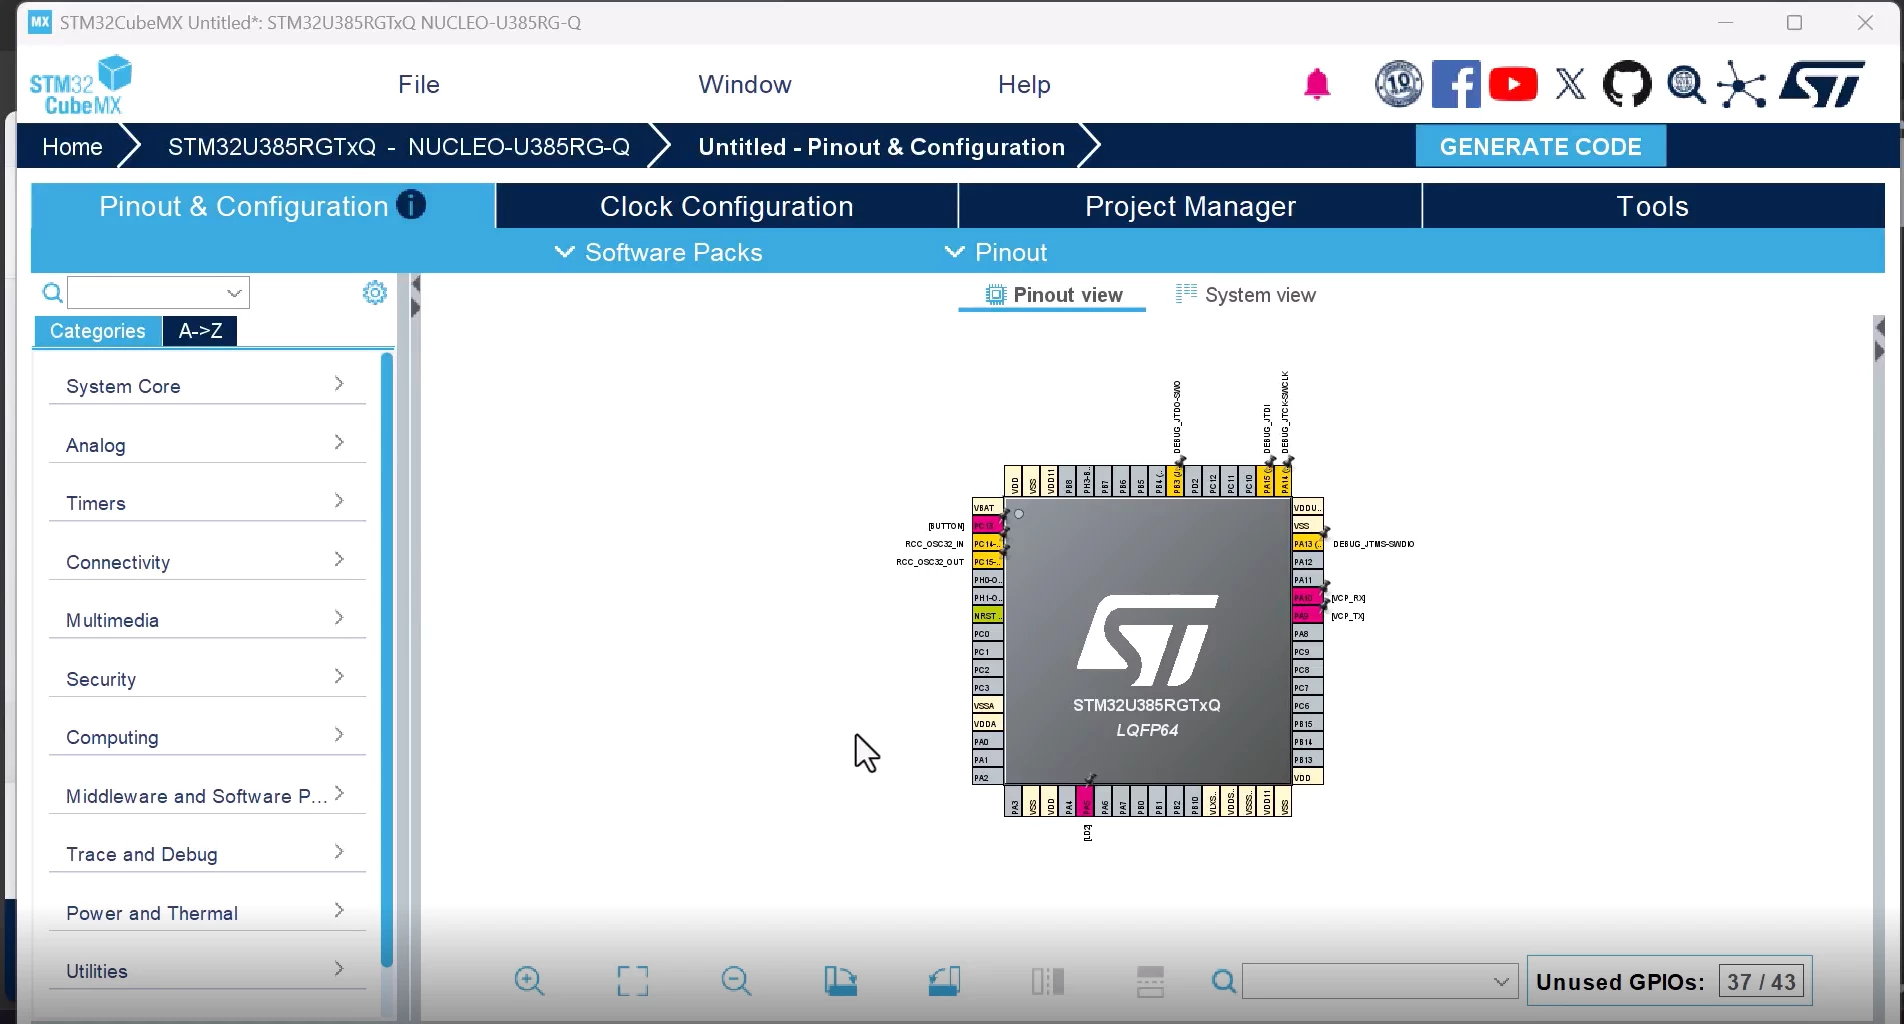
Once your project is completed (Pinout & Configuration and Clock Configuration fully configured), we go to the "Project Manager" tab to set up the project for STM32CubeIDE.
2.2 Set up the project for STM32CubeIDE
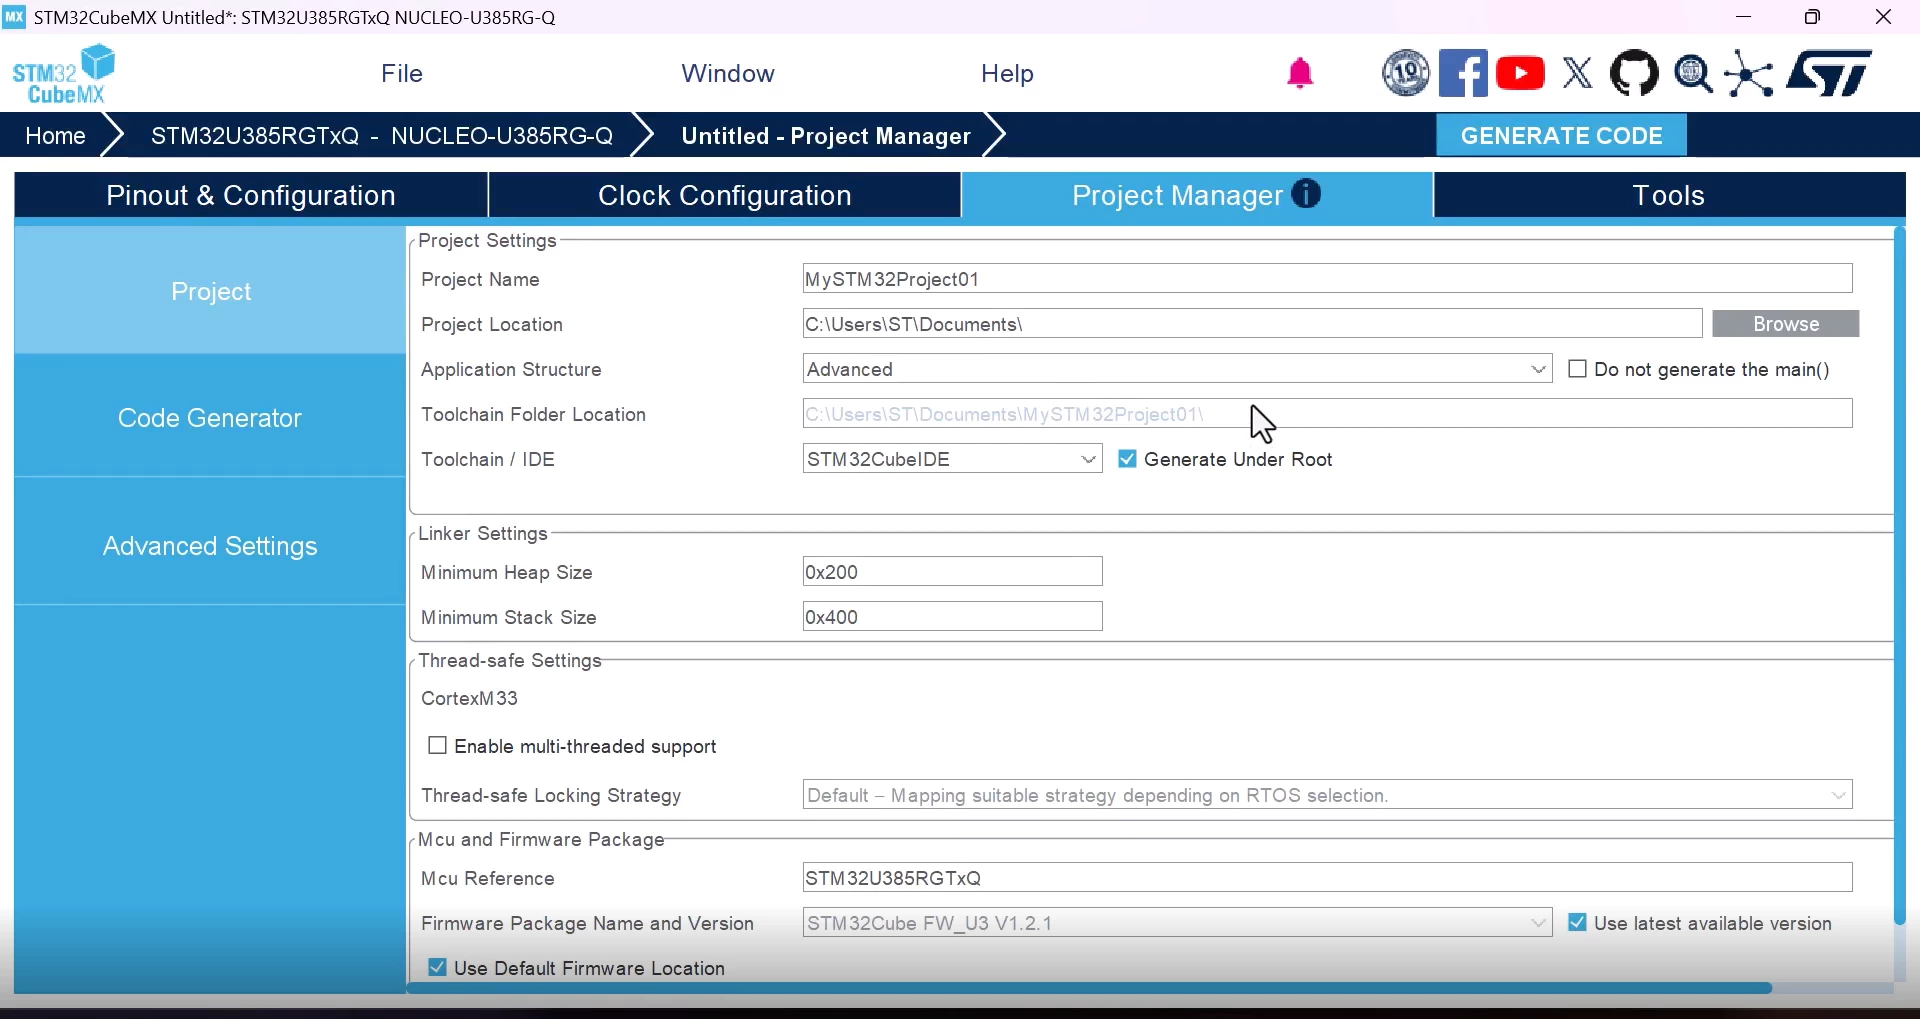
Go to "Project Manager" tab and input the following:
- "Project Name:" give your project a name
- "Project Location:" give the path where you want the project to be generated
- "Toolchain:" select STM32CubeIDE
2.3 Generate the project
Click on the [GENERATE CODE] icon

Waiting for the project to be generated, you should see the following window once the project has been created successfully.
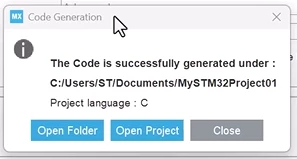
You can now close the window (click [Close]).
2.4 Import the project in STM32CubeIDE
Switch to STM32CubeIDE 2.x and import the project we just created with STM32CubeMX.
Click on [File] → [STM32 Project Create/Import]
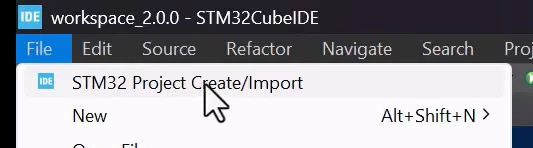
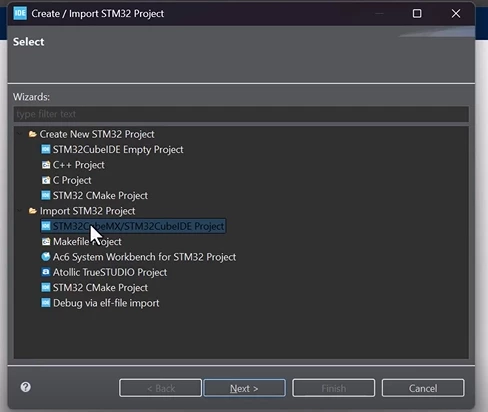
A window opens, select [STM32CubeMX/STM32CubeIDE Project] under “Import STM32 Project” and then click [Next] as seen below.
A new window pops up and you give the path of the project you previously created and then click [Finish].
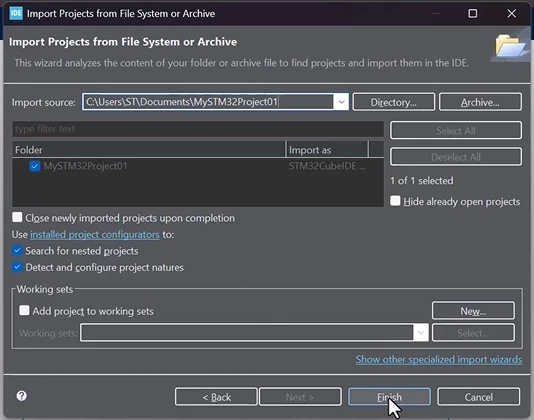
The project is now imported.
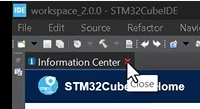
We can close the "Information Center" tab if it was opened.
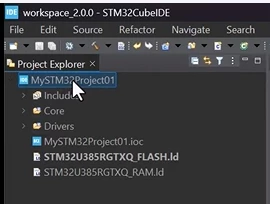
You should see the project on the left side after expanding it:
2.5 Project modification in STM32CubeMX
Now, let's say that we want to modify our existing project in STM32CubeMX.
Go back to STM32CubeMX, and do the modifications you want to do.
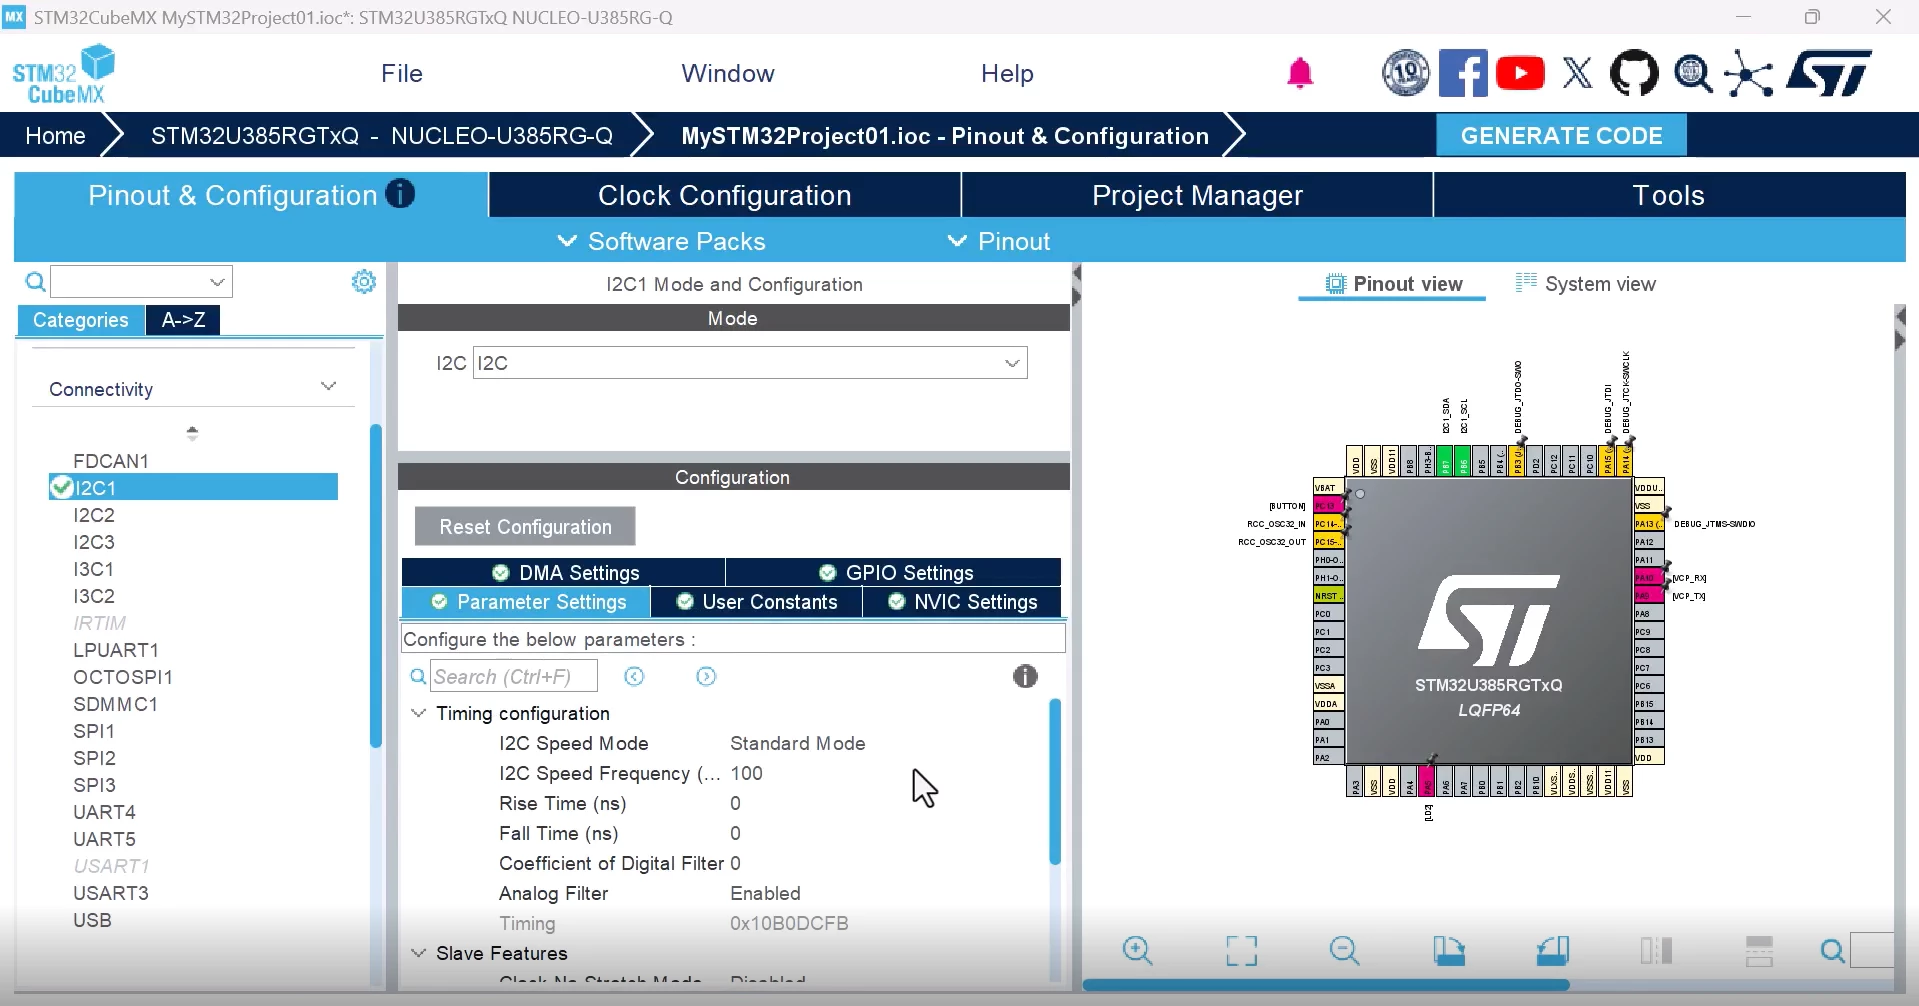
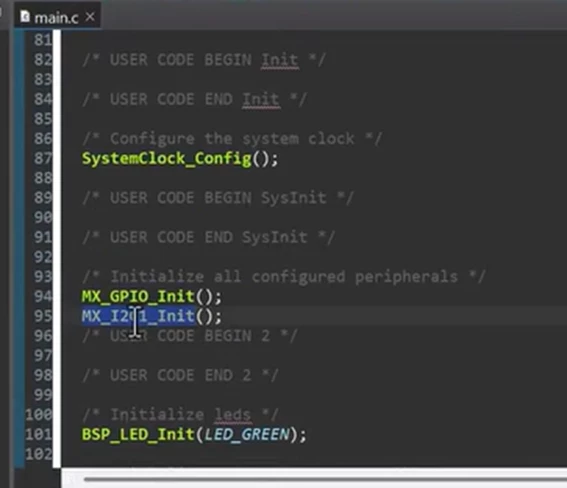
For example, let’s say that we want to add a peripheral to our application (in my example, I am enabling I2C1):
Then, generate the code again by clicking [GENERATE CODE].

Note: [GENERATE CODE] will save your project
Once the code is generated, go back to STM32CubeIDE.
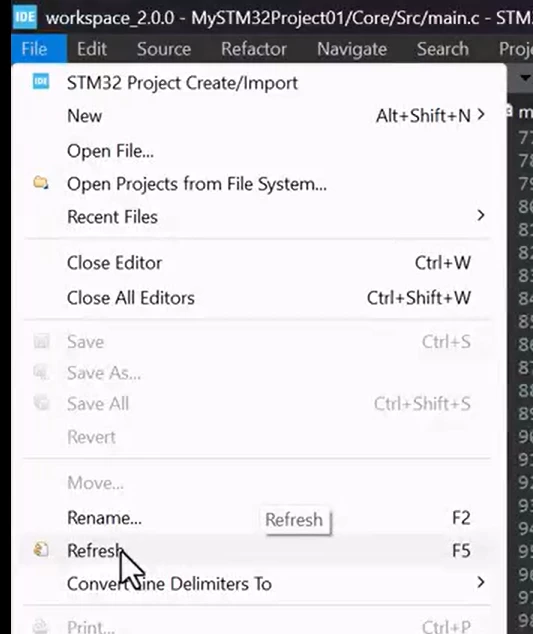
To reflect the changes made in the project, you need to “refresh” the project by doing the following:
Click on [File] → [Refresh] or press [F5].
Note: We also wanted to highlight the "auto-refresh" of the STM32CubeIDE file tree:
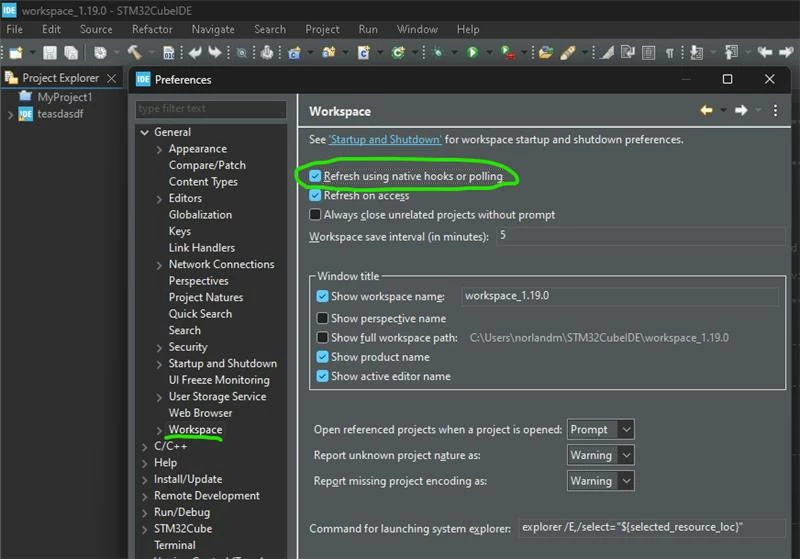
This is an Eclipse native feature which checks all projects inside the workspace for changes and update the file tree accordingly.
Now your project has been updated to STM32CubeIDE. In my case, for example, I can see the configuration of the I2C1 I just did in STM32CubeMX.
3. Creating a new project with C++ as the target language
Many thanks to
Create the project in STM32CubeMX.
After you open it in STM32CubeIDE, right click the project and select "Convert to C++". This will add the C++ compiler and look for *.cpp files.
Add whatever *.cpp files you want and it'll work. You'll need to extern "C" the ones you call in main.c so the names don't get mangled.
Related links
- Video tutorial: STM32CubeIDE 2.0.0 - Stand-alone tools and updated project workflows
- Developer news: What's new in STM32CubeIDE 2.0.0
- STM32CubeIDE