SUrte.1
Associate II
June 21, 2022
Solved

I cannot display Hello World on port 0. I have the STM32F429I DISC-1 board.

The steps that I had done (STM32F429I-DISC1 Board)

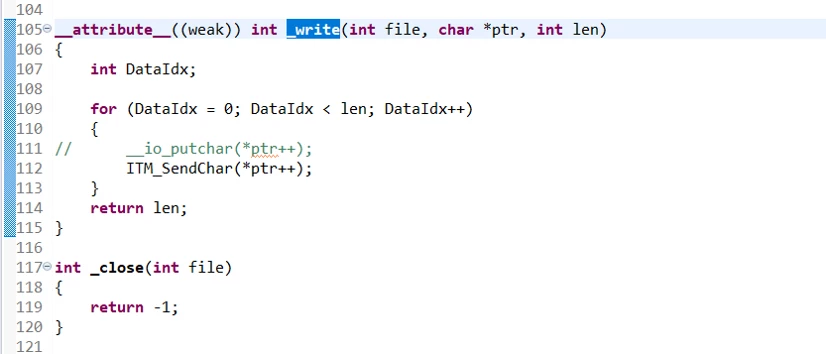
1. copy and paste the code into syscalls.c
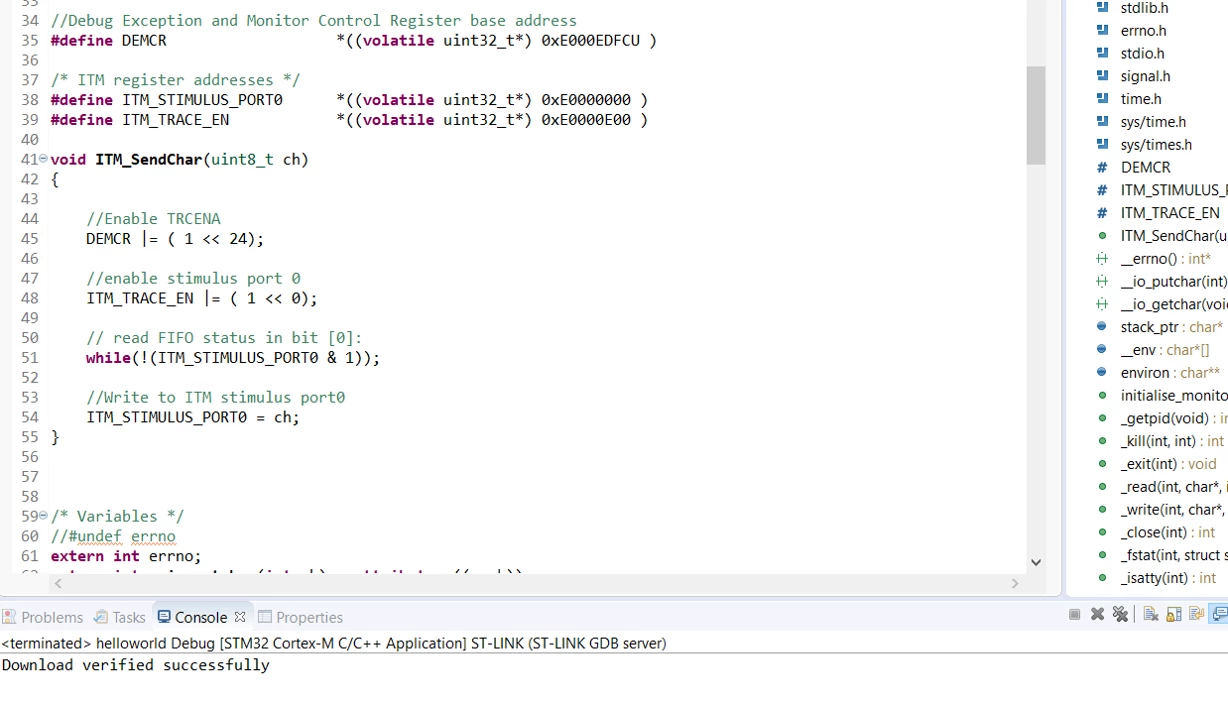
0693W00000NsOhiQAF.png2. edit the _write function

0693W00000NsOhnQAF.png4. build the project

5. edit the debugger setting
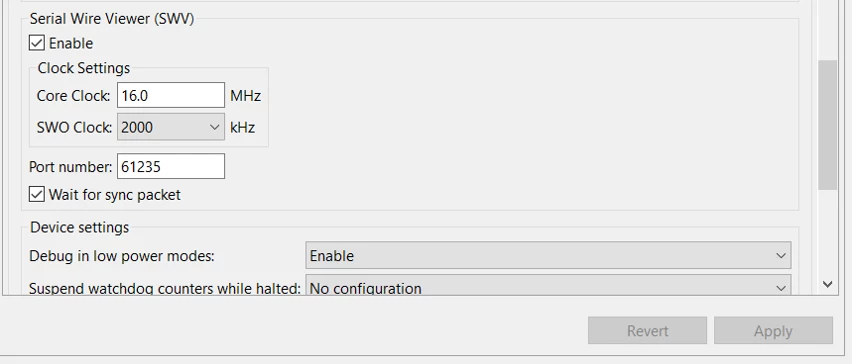
0693W00000NsOiMQAV.png6. start debug

7. enable the SWV ITM Data Console

8. enable the port 0 in SWV
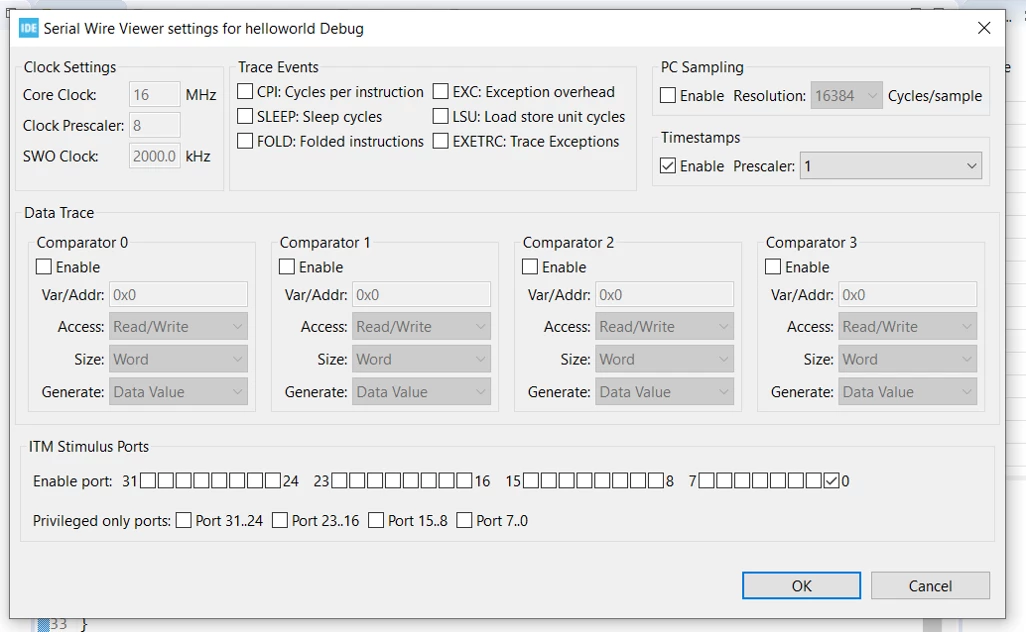
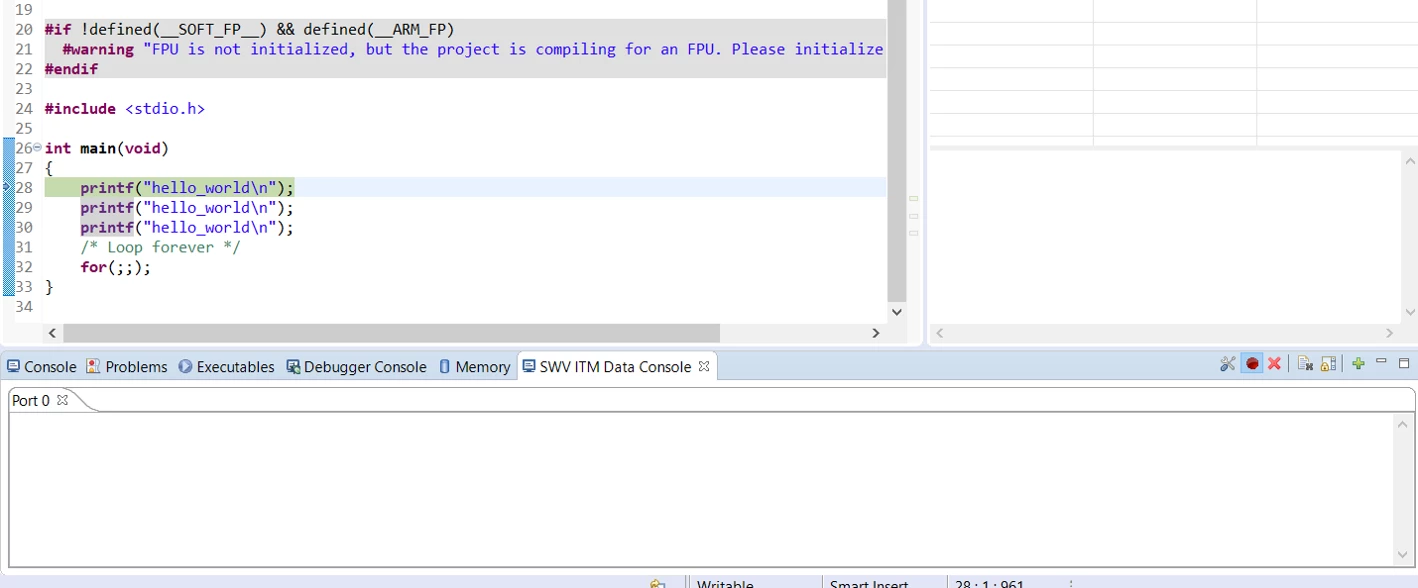
0693W00000NsOiWQAV.png9. the screen before press resume

0693W00000NsOibQAF.png10: Nothing come out... can you please help me?

This topic has been closed for replies.
Tesla DeLorean
Tesla DeLoreanBest answer
Guru
June 21, 2022

SB9 is open by default

https://www.st.com/resource/en/user_manual/um1670-discovery-kit-with-stm32f429zi-mcu-stmicroelectronics.pdf

Tips, Buy me a coffee, or three.. PayPal Venmo (See Profile) Up vote any posts that you find helpful, it shows what's working..

11 replies

Tesla DeLorean
Guru
June 21, 2022

Use ITM_SendChar() by itself

Are you really running the core at 16 MHz, and not 168 MHz or 180 MHz?

Is SB9 made?

Tips, Buy me a coffee, or three.. PayPal Venmo (See Profile) Up vote any posts that you find helpful, it shows what's working..
Tesla DeLorean
Guru
June 21, 2022

Cross-linking so Google works better.. and I don't have to use the forsaken search on this web site.

https://community.st.com/s/question/0D53W00000fmWGRSA2/how-to-enabling-swdswo-printf-like-debugging-feature-for-stm32f429-discovery-kit

Tips, Buy me a coffee, or three.. PayPal Venmo (See Profile) Up vote any posts that you find helpful, it shows what's working..
ST Technical Moderator
June 21, 2022

Hello @SUrte.1​ 

Welcome to STM32 Community =)

Check you Clock configuration (SYSCLK, HSE_VALUE)

0693W00000NsOkcQAF.jpgMake sure to connect the SWV pin for Trace functionality and follow this AN4989, which will help you on printf debugging.

When your question is answered, please close this topic by choosing Select as Best. This will help other users find that answer faster.

Imen

.

In order to give better visibility on the answered topics, please click on 'Best answer' on the reply which solved your issue or answered your question. Thanks
Tesla DeLorean
Tesla DeLoreanBest answer
Guru
June 21, 2022
Tips, Buy me a coffee, or three.. PayPal Venmo (See Profile) Up vote any posts that you find helpful, it shows what's working..
SUrte.1
SUrte.1Author
Associate II
June 21, 2022

I soldered the sb9 and my problem was solved thank you very much

SUrte.1
SUrte.1Author
Associate II
June 21, 2022

Hi,

Thank you for your answer. How can i fix it.

0693W00000NsOp3QAF.pngThe middle of the SB9 is empty and do I need to apply a little solder there and join it as in the photo?

Tesla DeLorean
Guru
June 21, 2022

The pads are specifically designed to wet and bridge with a little bit of solder, thus them being called "Solder Bridges"

Tips, Buy me a coffee, or three.. PayPal Venmo (See Profile) Up vote any posts that you find helpful, it shows what's working..
SUrte.1
SUrte.1Author
Associate II
June 21, 2022

I don't want to do something wrong and damage the card please help

Tesla DeLorean
Guru
June 21, 2022

You're a bit far away to come over..

Wet the two sides with a little solder so it bridges, connecting the two sides, and allowing the SWO (PB3) signal get to the ST-LINK/V2

If you're unsure of what's being done electrically, review the schematic, should be under the "CAD Resources" tab for the board's home page.

To remove the solder, use some desoldering wick to soak-up/pull-away the solder

Tips, Buy me a coffee, or three.. PayPal Venmo (See Profile) Up vote any posts that you find helpful, it shows what's working..